Homemade Pita Bread Fluffy
Highlighted under: Fast & Effortless Recipes
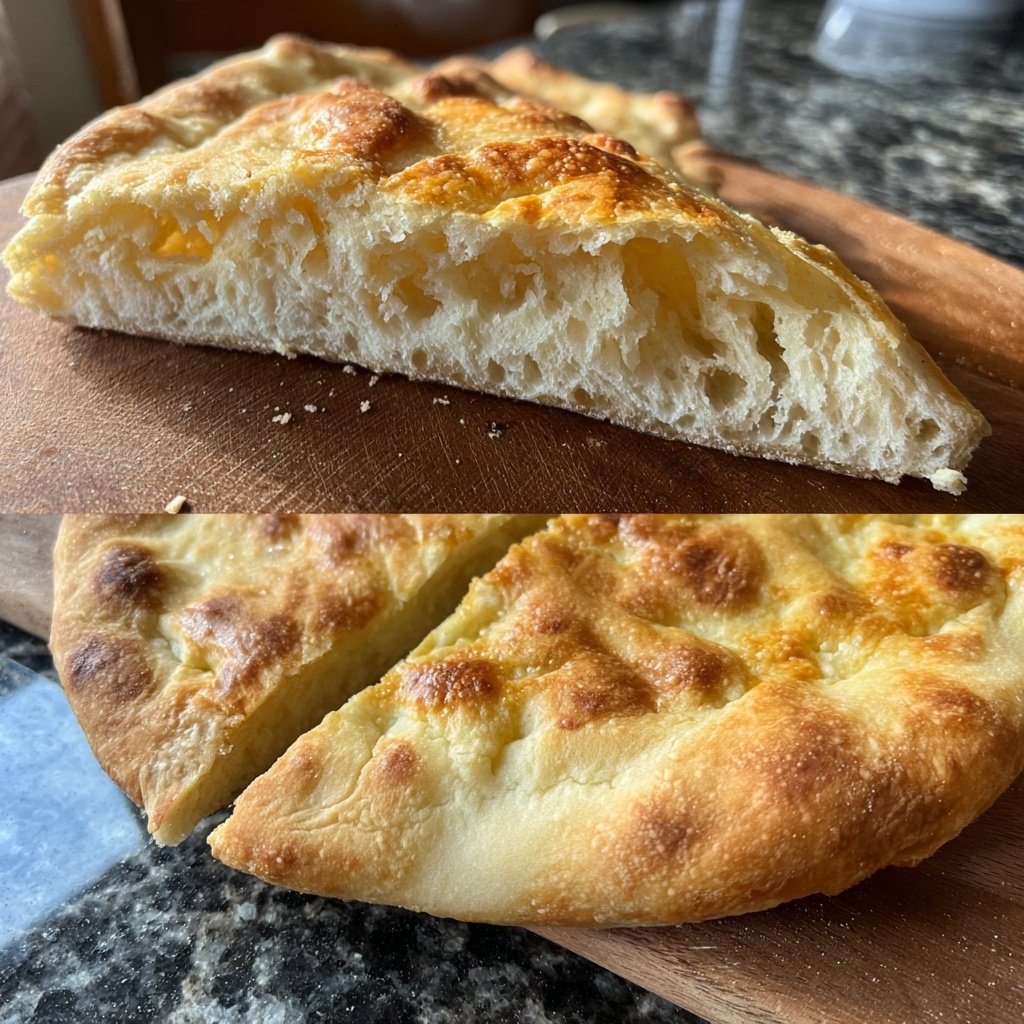
Enjoy the warm, fluffy texture of homemade pita bread right from your oven.
There's nothing quite like the smell of freshly baked pita bread wafting through your kitchen. This homemade pita bread is soft, fluffy, and perfect for stuffing with your favorite fillings or serving alongside dips.
Why You'll Love This Recipe
- Soft and fluffy texture that’s perfect for dipping
- Easily customizable with herbs and spices
- Healthier than store-bought options and made with simple ingredients
The Joy of Making Pita Bread
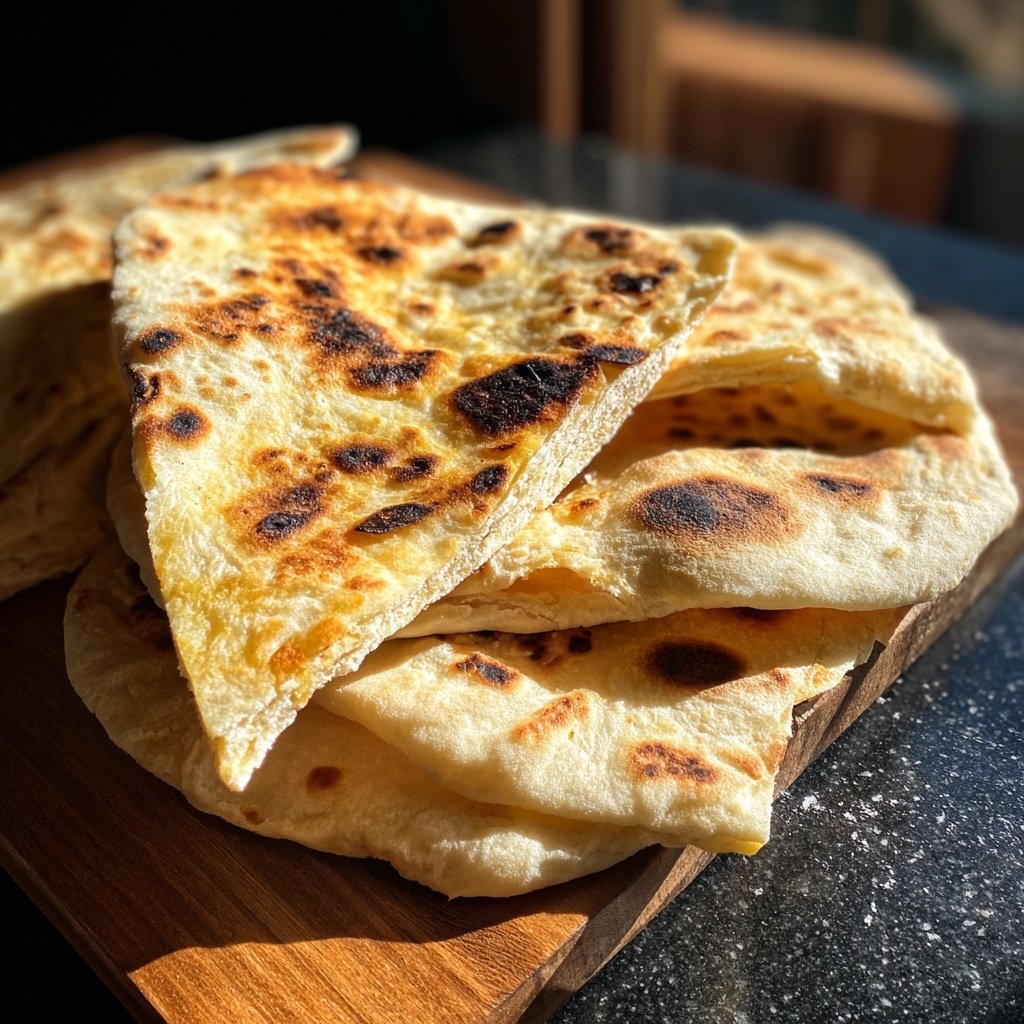
Homemade pita bread is a delightful addition to any meal, offering a warm and fluffy texture that store-bought versions often lack. The process of making pita bread from scratch can be incredibly rewarding, and it fills your kitchen with a comforting, yeasty aroma. Once you taste the fresh, soft bread, you'll wonder why you ever bought it pre-made.
In addition to its deliciousness, making pita bread at home allows you to customize it to your liking. Whether you prefer adding herbs like rosemary or spices such as cumin, the choice is yours. This not only makes the bread unique but also caters to your personal dietary preferences.
Perfect for Any Occasion
Pita bread is incredibly versatile and can be enjoyed in numerous ways. Whether you're serving it with hummus as a snack, using it to wrap grilled vegetables for a healthy lunch, or pairing it with a hearty stew for dinner, homemade pita elevates any dish. Its ability to puff up during baking creates a pocket, making it perfect for stuffing with your favorite fillings.
Moreover, hosting a gathering? Freshly baked pita bread can be a showstopper. Serve it alongside a variety of dips, spreads, and fillings to create a delightful mezze platter that will impress your guests. The warm, fluffy pitas will surely be the highlight of your spread.
Storing and Reheating Your Pita Bread
If you happen to have leftover pita bread, storing it properly is key to maintaining its freshness. Once cooled, place the pitas in an airtight container or a resealable plastic bag. For optimal freshness, consume them within a few days. You can also freeze them for longer storage; just make sure to separate each pita with parchment paper to prevent sticking.
When you're ready to enjoy your pita bread again, reheating it is a breeze. You can warm them in a toaster, on a skillet, or in the oven for a few minutes. This quick reheating process revives the soft, fluffy texture, making them nearly as good as fresh out of the oven!
Ingredients
For the Pita Bread
- 2 cups all-purpose flour
- 1 teaspoon salt
- 1 teaspoon sugar
- 1 packet (2 1/4 teaspoons) active dry yeast
- 3/4 cup warm water (about 110°F)
- 1 tablespoon olive oil
Mix all ingredients well to create a dough.
Instructions
Activate the Yeast
In a small bowl, combine warm water, sugar, and yeast. Let it sit for about 5 minutes until frothy.
Make the Dough
In a mixing bowl, combine flour and salt. Add the yeast mixture and olive oil. Mix until a dough forms.
Knead the Dough
Knead the dough on a floured surface for about 5 minutes until smooth and elastic.
Let it Rise
Place the dough in a greased bowl, cover with a cloth, and let it rise in a warm place for about 1 hour, or until doubled in size.
Preheat the Oven
Preheat your oven to 475°F (245°C) and place a baking stone or baking sheet inside to heat up.
Shape the Pitas
Punch down the risen dough and divide it into 8 equal pieces. Roll each piece into a ball and then flatten it into a circle about 1/4 inch thick.
Bake the Pitas
Carefully place the flattened dough onto the hot baking stone or sheet. Bake for about 5-7 minutes until they puff up and are lightly golden.
Cool and Serve
Remove the pitas from the oven and cover them with a clean towel to keep them warm. Serve warm or store for later use.
Enjoy your homemade pita bread with your favorite dips or fillings!
Pro Tips
- For extra flavor, consider adding herbs or spices to the dough. Additionally, ensure your water is warm, not hot, to activate the yeast without killing it.
Tips for Perfect Pita Bread
To ensure your pita bread puffs up perfectly, it's crucial to preheat your oven adequately. The high temperature creates steam, which is what causes the bread to form a pocket. Additionally, using a baking stone can help distribute heat evenly, resulting in a better rise during baking.
Another tip is to roll out the dough evenly. Uneven thickness can lead to inconsistent cooking, which may cause some pitas to puff while others don’t. Take your time with this step to ensure all your pitas turn out beautifully.
Pita Bread Variations
Feel free to experiment with different flours to create unique flavors and textures. Whole wheat flour can add a nutty taste and extra nutrients, while a blend of all-purpose and bread flour can give a chewier result. Additionally, introducing spices or herbs into the dough can elevate the flavor profile of your pitas.
For a fun twist, try making stuffed pita pockets. Fill them with grilled chicken, fresh veggies, and a drizzle of tahini sauce for a delicious meal. The possibilities are endless, allowing you to make a new version of pita bread each time!
Questions About Recipes
→ Can I make pita bread ahead of time?
Yes, you can prepare the dough in advance and refrigerate it. Just let it come to room temperature before shaping and baking.
→ What can I use pita bread for?
Pita bread is versatile; you can use it for sandwiches, with dips like hummus, or as a side with various dishes.
→ How do I store leftover pita bread?
Store leftover pita bread in an airtight container at room temperature for up to 2 days, or freeze for longer storage.
→ Why did my pita bread not puff up?
If your pita didn’t puff up, it may be due to insufficient heat or the dough not rising enough. Ensure your oven is fully preheated and that the dough rises properly.
Homemade Pita Bread Fluffy
Created by: The Whiskwonderfood Team
Recipe Type: Fast & Effortless Recipes
Skill Level: Beginner
Final Quantity: 8 pitas
What You'll Need
For the Pita Bread
- 2 cups all-purpose flour
- 1 teaspoon salt
- 1 teaspoon sugar
- 1 packet (2 1/4 teaspoons) active dry yeast
- 3/4 cup warm water (about 110°F)
- 1 tablespoon olive oil
How-To Steps
In a small bowl, combine warm water, sugar, and yeast. Let it sit for about 5 minutes until frothy.
In a mixing bowl, combine flour and salt. Add the yeast mixture and olive oil. Mix until a dough forms.
Knead the dough on a floured surface for about 5 minutes until smooth and elastic.
Place the dough in a greased bowl, cover with a cloth, and let it rise in a warm place for about 1 hour, or until doubled in size.
Preheat your oven to 475°F (245°C) and place a baking stone or baking sheet inside to heat up.
Punch down the risen dough and divide it into 8 equal pieces. Roll each piece into a ball and then flatten it into a circle about 1/4 inch thick.
Carefully place the flattened dough onto the hot baking stone or sheet. Bake for about 5-7 minutes until they puff up and are lightly golden.
Remove the pitas from the oven and cover them with a clean towel to keep them warm. Serve warm or store for later use.
Extra Tips
- For extra flavor, consider adding herbs or spices to the dough. Additionally, ensure your water is warm, not hot, to activate the yeast without killing it.
Nutritional Breakdown (Per Serving)
- Calories: 180 kcal
- Total Fat: 3g
- Saturated Fat: 0.5g
- Cholesterol: 0mg
- Sodium: 200mg
- Total Carbohydrates: 36g
- Dietary Fiber: 2g
- Sugars: 0g
- Protein: 5g